-
Australia
Copyright © 2025 Powered by BCI Media Group Pty Ltd
Confirm Submission
Are you sure want to adding all Products to your Library?
Contact Detail
11 Sep 2024 by DRIZORO Scientific Waterproofing Products

Your swimming pool is an endless source of beauty and fun for your family and friends, keeping them cool and entertained right throughout the hot Australian summer.
However, just like every other part of your home, your pool requires regular maintenance to ensure that it’s safe, properly waterproofed and holding its water as it should. Without this routine maintenance, it could potentially leak water in and around the foundations of your home, decking or fencing, causing significant damage under the surface.
That’s why today, we’re going to show you how to effectively repair and waterproof the surfaces of your concrete swimming pool, especially while it’s not being used during the colder months of winter.
Let’s begin with the products you’ll need to waterproof your swimming pool
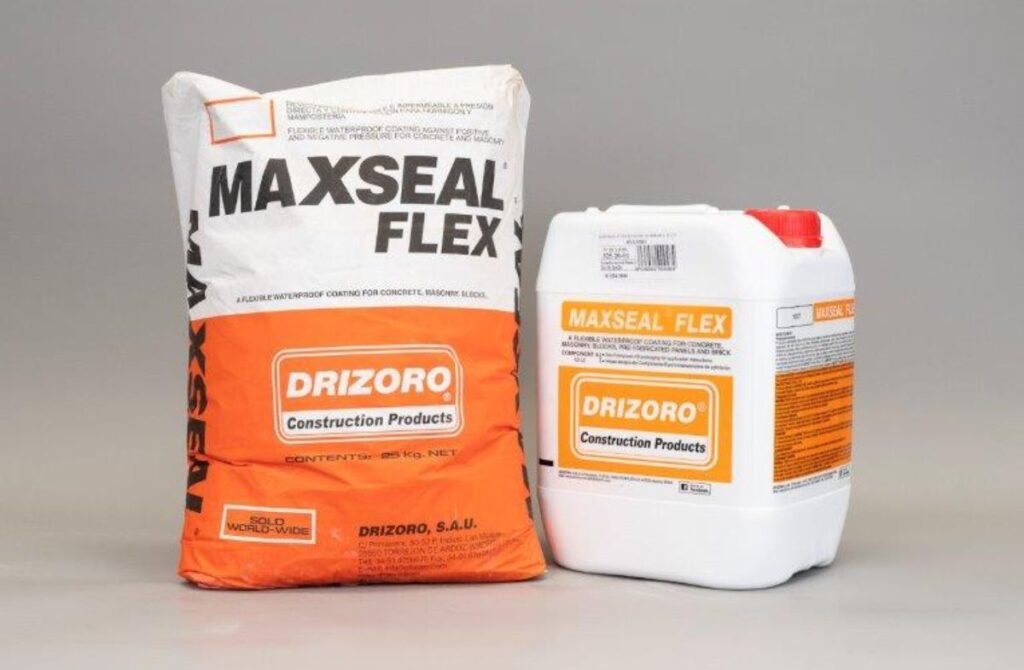
Thanks to Drizoro, we have a range of products that you can use to repair and waterproof your concrete pool surfaces. These include:
Preparing your concrete swimming pool
Before you begin, it’s important to inspect the surfaces of your pool carefully. If you’ve got smooth, Marblesheen, pebblecrete or other decorative surfaces, these can be prone to extreme variations in quality. So, it’s important to check that they are sound before continuing:
Once this is done, prepare the area to be coated by removing any loose materials and ensuring a clean surface free from efflorescence, laitance, organic growth and any other contaminants.

Waterproofing your concrete pool surfaces
Below is a step-by-step guide to waterproofing your concrete swimming pool. It’s important to follow each step closely to ensure the successful adhesion of your waterproofing products.
1. Using a “ripper” disc with a 24-grit minimum, abrade the total surface to be coated to create an open and porous base.
2. Use commercial Hydrochloric or Muriatic Acid to etch the surface thoroughly, working on just one small area at a time.
a. For old cement, use 1 part Acid to 3 parts water.
b. For Marblesheen (Sound & Hard), use 1 part Acid to 0 parts water.
c. For Marblesheen (Sound & Soft), use 1 part Acid to 1 part Water.
Immediately scrub the entire area with a nylon broom. As soon as the bubbling reaction stops (approx. 5-15 mins), neutralise the surface with a solution of 1 part Bicarbonate of Soda to 10 parts water, then flush with clean water.
CAUTION: Never allow acid residue to dry on the surface. This is why it’s so important to concentrate on small workable sections at a time.
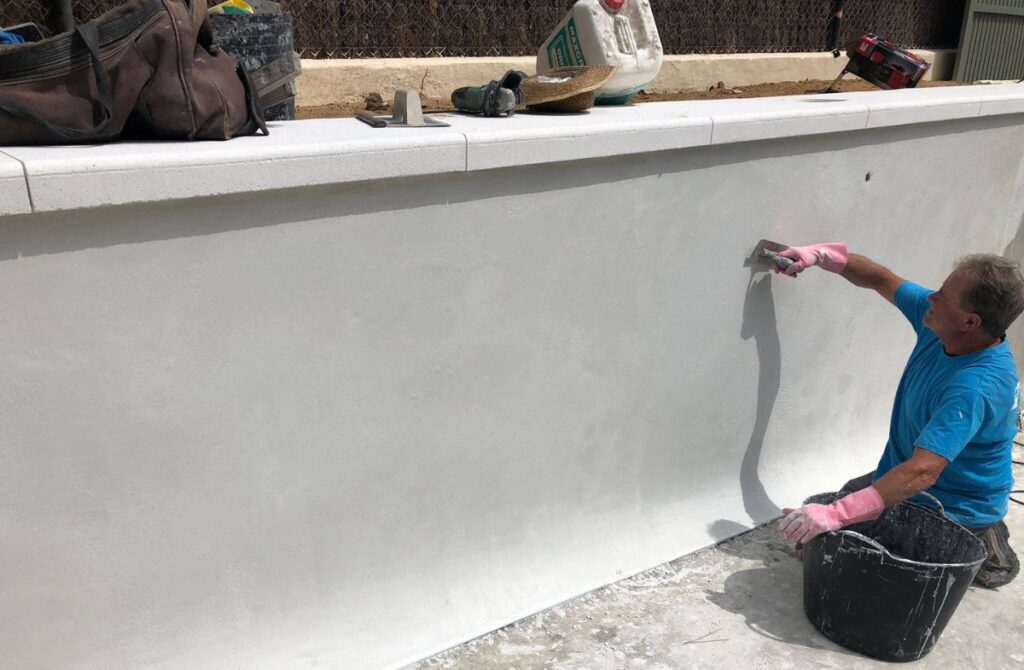
3. Once etching is complete, thoroughly wet the entire surface before brushing the first coat of Maxseal Flex or Maxseal Flex M. This is a flexible, cement-based waterproof membrane that prevents water from escaping your pool, while also stopping groundwater from entering your pool.
If you’ve got any cracks up to 3mm in width, embed Maxmesh into your first coat of Maxseal Flex, right across the crack. For any control joints, joints around pipe penetrations, or cracks wider than 3mm, fill these with Maxjoint Elastic and allow it to cure before brushing the first coat of Maxseal Flex and embedding Maxmesh across the cracks.
4. Allow the first coat of Maxseal Flex to cure for a minimum of 14 hours, or a minimum of 6 hours if using Maxseal Flex M.
5. Once cured, wet the first coat with water and brush on the second coat of Maxseal Flex, and allow curing for 7 days for Maxseal flex or 3 days for Maxseal flex M before applying the pool finish.
6. The swimming pool can be finished with the Drizoro flexible waterproof render called Concreseal plastering M or a cement render to receive mosaic tiles.
7. Before rendering over Maxseal Flex, apply a “flick” coat of 3 parts Cement and 1 part Washed Crushed River Gravel, and allow this to cure for 5-7 days before finishing the surface.
NOTE: Our Drizoro products are compatible with many popular pool-finishing products, including tiles, pebblecrete and decorative renders. Contact us for more information.
8. Allow 14 days for Maxseal Flex or 6 days for Maxseal Flex M to properly cure before filling your pool.
And there you have it!
By following these simple pool waterproofing steps, your pool will be safe, properly waterproofed, and ready for action when the warmer weather arrives.
The right waterproofing solution will protect your pool for years to come
Properly repairing and waterproofing your pool will help increase its lifespan, ensure the integrity of its surfaces, and protect the people swimming in the water.
Of course, if you’d like some further guidance on the best waterproofing products to use, speak to your local Australian waterproofing specialists.


